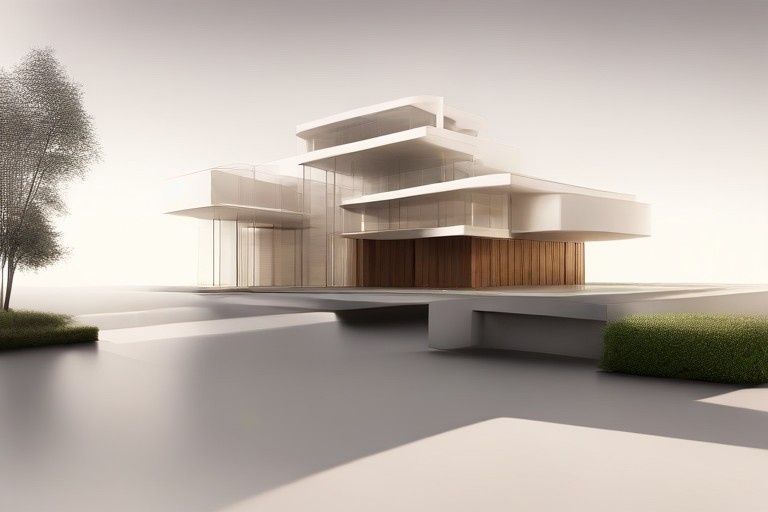
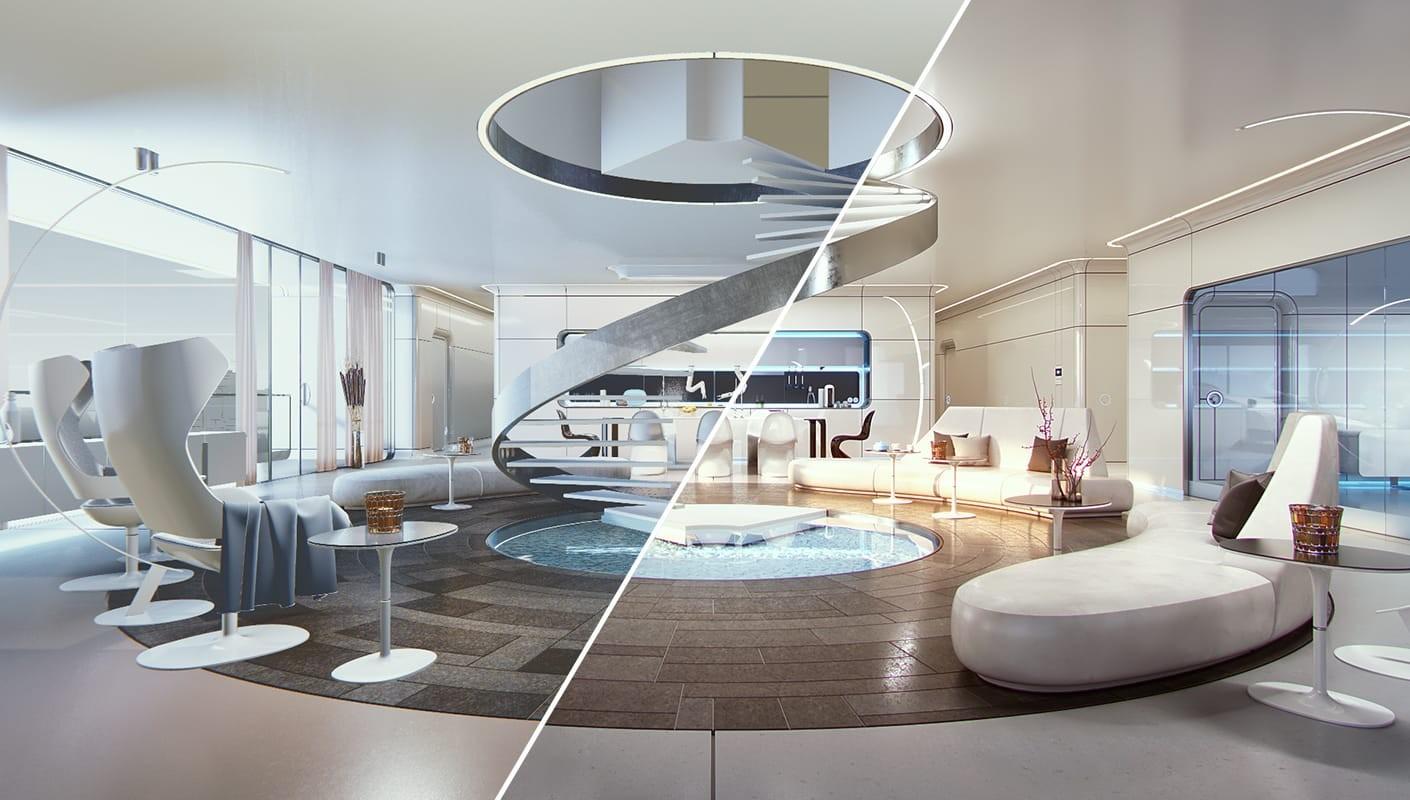
Are you striving to make your designs leap off the screen, bursting with realism that makes them nearly indistinguishable from real life? I know the feeling. The journey from a simple Rhino model to a stunningly realistic render is a challenge, but it's also incredibly rewarding. Rhino Rendering Tools are the key to unlocking this potential, and today, I'm here to share what I've learned about making those Rhino architecture projects truly shine.

Image Credit: daisie.com
Why Rendering Matters in Rhino Architecture
Rendering isn’t just about aesthetics; it’s about communication. A well-executed render does more than look pretty—it conveys your design intent, evokes emotion, and communicates complexity to clients and peers. For architecture students, rendering tools like those in Rhino give life to ideas, helping projects stand out in critique sessions and presentations. And for professionals, they’re instrumental in winning clients over by giving them a clear picture of the end result.
But if you’ve ever tried to create realistic renders, you know how easily they can end up looking flat, unconvincing, or even artificial. The trick lies in using the right combination of Rhino Tools and techniques—and that’s what we’re diving into.
Exploring Rhino Rendering Tools for Realistic Results
1. V-Ray for Rhino
Let’s start with one of the big names—V-Ray for Rhino. This is my go-to rendering tool, and it's a favorite among architecture professionals for a reason. V-Ray provides control over lights, shadows, textures, and reflections, all critical elements for achieving that lifelike quality. It’s ideal for Rhino architecture work, where precision and detail are necessary.
Key features that make V-Ray a winner:
- Global Illumination: This creates natural lighting effects by simulating how light bounces off surfaces. Trust me, this is a game-changer for making interiors glow naturally.
- Asset Library: The pre-built library is a lifesaver. Instead of spending hours creating chairs, lamps, or plants, V-Ray offers a collection ready to use, saving a lot of time.
If you’re aiming for professional-level quality, I highly recommend starting with V-Ray. The learning curve can be a bit steep, but with a good rhino course that includes V-Ray integration, it becomes much more manageable.
2. Enscape for Rhino
When you need something more immediate or you’re preparing for an informal design discussion, Enscape can be a valuable asset. Unlike other Rhino rendering tools, Enscape focuses on real-time rendering—essentially what you see is what you get. This is particularly useful when:
- You’re still iterating and need to quickly visualize how a change impacts the scene.
- You want to provide clients with an interactive experience where they can move through your design in real-time.
Enscape integrates smoothly with Rhino, which makes it a powerful ally in showcasing Rhino architecture projects without spending hours tweaking render settings. The interactive nature of Enscape makes it an excellent tool for communicating ideas and getting real-time feedback.
3. KeyShot for Rhino
Another tool I find helpful is KeyShot, particularly for product or small-scale architectural renders. KeyShot’s strength is in its simplicity and its real-time preview. It’s not as versatile as V-Ray when it comes to in-depth architectural scenes, but it’s an absolute dream for highlighting detailed elements of a Rhino model. For example:
- Presenting materials: KeyShot's powerful material editor helps showcase how different materials might behave in real life.
- Fast rendering: For smaller projects or showcasing specific details, KeyShot provides an efficient workflow without much hassle.

Image Credit: rhino3d.com
How to Achieve Realism: Tips for Rhino Users
Mastering the Lighting
When it comes to realism, lighting is everything. Properly understanding lighting techniques in Rhino, whether you are using V-Ray or Enscape, makes a world of difference. Natural light (like the sun) should be set accurately based on location and time of day. The addition of artificial lights like spotlights or area lights brings interiors to life.
Key Lighting Tips:
- Use soft shadows to replicate realistic shadows.
- Leverage HDRI backgrounds for natural ambient lighting.
- Adjust the intensity of light sources to avoid harsh contrasts.
Material Settings Matter
Rhino rendering tools offer incredible control over material properties. Think of the materials as the skin of your design; it's not enough for it to look good—it needs to look right.
- Reflectivity and Glossiness: Real-world objects are rarely 100% matte or glossy. Playing with reflection settings can bring a more nuanced, realistic appearance.
- Bump Mapping: Adding a bump or displacement map to materials adds texture, which translates into realism. Imagine a brick wall—without texture, it just looks wrong.
- UV Mapping: UV mapping might sound intimidating, but it’s crucial for ensuring materials sit correctly on your model.
Post-Processing Magic
Even after achieving a good render in Rhino software, post-processing is where you can take it from good to great. I recommend using Photoshop or similar editing tools to:
- Enhance lighting by playing with levels and curves.
- Correct colors to match the atmosphere you are trying to convey.
- Add lens effects like bloom or slight vignettes for an artistic touch.
Common Mistakes to Avoid When Rendering with Rhino Tools
1. Overcomplicating the Scene
I’ve been there—trying to add as many details as possible, assuming that more complexity means better renders. It doesn’t. The key is balance. Too many reflective surfaces, for example, can make your scene look chaotic and less realistic. Instead, focus on composition and context.
2. Ignoring Scale
The sense of scale is critical. I often see renders where furniture or plants are out of proportion, instantly breaking the illusion. Ensure all elements, like doorways, railings, or light fixtures, are correctly scaled. Accurate dimensions significantly contribute to realism.
3. Neglecting Background Context
Don’t forget about the background! Often, the primary model is well-done, but the backdrop is ignored. Using HDRI maps that match your lighting setup adds depth and makes renders more immersive. The key to using Rhino Tools effectively is to be mindful of every element in your composition—foreground, subject, and background.
Conclusion
Rendering in Rhino can be complex, but it’s also incredibly rewarding once you understand how Rhino Tools work to achieve realism. By mastering lighting, materials, and careful scene composition, you can create architectural renders that are almost indistinguishable from reality.
If you’re ready to take the next step, I encourage you to look into an Advanced Rhino Course that dives into Rhino's full potential. There’s a lot more to learn, and every skill you add brings you closer to mastering Rhino architecture.
Visit our website Kaarwan for more!
FAQs
1. What are the best Rhino Tools for realistic rendering?
The best tools include V-Ray for professional quality, Enscape for real-time feedback, and KeyShot for smaller projects.
2. How can I speed up the rendering process in Rhino?
To speed up rendering, optimize your model by reducing unnecessary details, use lower resolution settings for draft renders, and leverage rendering tools like V-Ray's denoiser to cut down on noise without increasing render times. Additionally, using proxy objects can help reduce memory usage, making the render faster.
3. What’s the difference between V-Ray and Enscape in Rhino?
V-Ray is best for detailed, high-quality renders, whereas Enscape is ideal for fast, real-time visualization.
4. How important is lighting for rendering in Rhino?
Extremely important. Lighting makes or breaks the realism of a render. Use natural and artificial light strategically.
5. Should I use post-processing in Rhino renders?
Yes, post-processing can elevate a good render to a great one. Tools like Photoshop are useful for final touches.


