In the realm of architectural design, presentation is paramount. A well-crafted design can fall flat if not presented effectively. Revit architecture, a leading BIM software, provides powerful tools to enhance design presentations. By optimizing views and materials, architects can create compelling visuals that accurately convey their vision. This blog explores techniques to optimize Revit views and materials, enhancing your design presentations and making a lasting impression on clients and stakeholders.
Introduction to Revit Architecture
What is Revit Architecture?
Revit architecture is a Building Information Modeling (BIM) software developed by Autodesk. It is widely used in the architecture, engineering, and construction (AEC) industry for creating detailed 3D models of buildings. Revit allows architects to design, plan, and manage building projects with a high level of accuracy and efficiency.
Importance of BIM Architecture
BIM architecture goes beyond traditional 2D drawings by providing a comprehensive 3D model that includes detailed information about every element of the building. This approach improves collaboration among project stakeholders, reduces errors, and enhances the overall quality of the design. BIM software like Revit is essential for modern architectural practices, enabling better decision-making and more efficient project execution.
Optimizing Revit Views for Presentation
Creating Custom Views
Custom views in Revit allow you to focus on specific aspects of your design, highlighting important details and providing clarity. By creating custom views, you can tailor your presentation to the needs of your audience, whether it’s a client meeting, a design review, or a construction briefing. Use section boxes, view templates, and visibility settings to control what is displayed and how it is presented.
Using View Templates
View templates are a powerful feature in Revit architecture that streamline the process of setting up and managing views. By applying view templates, you can ensure consistency across your project and save time. Customize view templates to include settings such as view scale, detail level, and graphic display options. This consistency not only enhances the clarity of your presentation but also maintains a professional standard throughout your project documentation.
Enhancing 3D Views
3D views are a crucial component of design presentations, providing a realistic perspective of the building. Optimize 3D views by adjusting the camera angle, lighting, and shadows. Use the "Graphic Display Options" to enhance the visual quality of your 3D views, applying settings such as ambient shadows, depth cueing, and anti-aliasing. These adjustments can make your 3D views more engaging and informative.
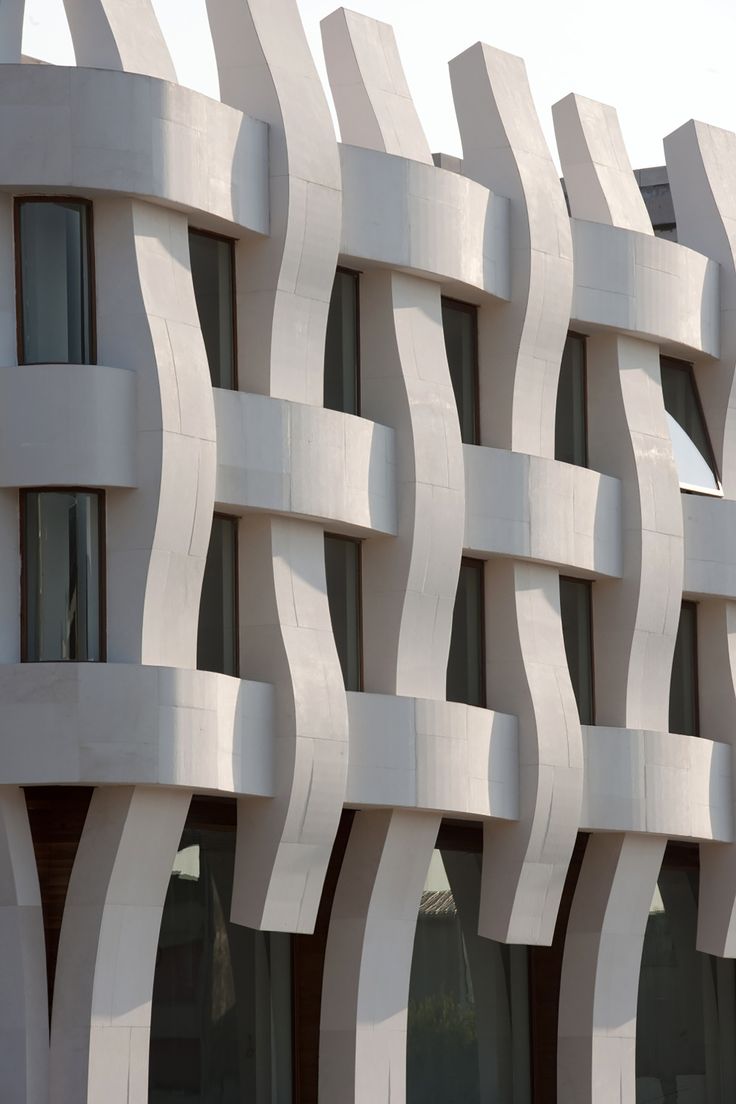
Gallery of Argul Weave / Smart-Architecture + BINAA - 32_©archdaily.com
Utilizing Section Boxes
Section boxes in Revit are an excellent tool for isolating and presenting specific parts of your model. By using section boxes, you can create detailed cutaway views that reveal the internal components of your design. This technique is particularly useful for highlighting complex mechanical systems, structural elements, or interior layouts. Adjust the size and position of the section box to focus on the most relevant areas of your model.
Optimizing Materials for Realistic Rendering
Choosing the Right Materials
The choice of materials significantly impacts the realism and effectiveness of your renderings. Revit architecture provides a comprehensive library of materials that can be customized to match your design specifications. Select materials that accurately represent the intended finishes and textures of your building. Consider factors such as color, reflectivity, and transparency to achieve a realistic appearance.
Customizing Material Properties
Customizing material properties allows you to fine-tune the appearance of materials in your renderings. Adjust parameters such as glossiness, bump mapping, and surface patterns to create realistic textures. Experiment with different settings to achieve the desired look for each material. Use the "Material Editor" in Revit to make these adjustments and preview the results in real-time.
Using High-Quality Textures
High-quality textures are essential for creating realistic renderings. Source textures from reliable libraries or create your own using high-resolution images. Ensure that textures are properly scaled and aligned with the surfaces they are applied to. High-quality textures can enhance the depth and realism of your renderings, making them more visually appealing.
Applying Realistic Lighting
Lighting plays a crucial role in rendering, affecting how materials and spaces are perceived. Use natural and artificial lighting sources to create a balanced and realistic illumination. In Revit, you can adjust the sun path, time of day, and lighting fixtures to achieve the desired effect. Experiment with different lighting settings to highlight key areas of your design and create a visually compelling presentation.
Advanced Rendering Techniques
Using Revit's Rendering Engine
Revit’s built-in rendering engine is a powerful tool for creating high-quality images of your design. Familiarize yourself with the rendering settings and options available in Revit. Adjust parameters such as resolution, quality, and exposure to optimize your renderings. Use the "Render in Cloud" feature to leverage Autodesk’s cloud-based rendering service for faster and higher-quality results.
Integrating with External Rendering Software
For more advanced rendering capabilities, consider integrating Revit with external rendering software such as Autodesk 3ds Max, V-Ray, or Lumion. These programs offer additional features and flexibility for creating photorealistic images and animations. Export your Revit model to the external software and take advantage of their advanced tools to enhance your presentations.
Creating Walkthroughs and Animations
Walkthroughs and animations are effective ways to present your design in a dynamic and engaging manner. Use Revit to create walkthrough paths and export the animation to showcase different perspectives of your building. This approach allows clients and stakeholders to experience the space as if they were walking through it, providing a more immersive understanding of the design.

Sanjay Puri Architects_©thearchitectsdiary.com
BIM Certification and Continuous Learning
Importance of BIM Certification
Obtaining a BIM certification demonstrates your proficiency in using BIM software like Revit and your commitment to maintaining industry standards. BIM certification courses cover essential topics such as BIM principles, software proficiency, and project management. By becoming certified, you enhance your credibility and career prospects in the architecture and construction industry.
Continuing Education and Training
The field of BIM architecture is constantly evolving, with new tools and techniques emerging regularly. Stay up-to-date with the latest developments by participating in continuing education and training programs. Enroll in advanced courses, attend workshops, and join professional organizations to expand your knowledge and skills. Continuous learning ensures that you remain competitive and capable of leveraging the full potential of BIM software.
Conclusion
Optimizing Revit views and materials is essential for creating compelling and effective design presentations. By leveraging the powerful features of Revit architecture, you can enhance the clarity, realism, and impact of your presentations. From creating custom views and applying realistic materials to using advanced rendering techniques, these strategies will help you convey your design vision with precision and professionalism. Continuous learning and BIM certification further enhance your skills, ensuring you stay at the forefront of architectural innovation. Embrace these techniques to elevate your design presentations and achieve greater success in your architectural endeavors.
Embark on your journey with Kaarwan’s Advanced Revit & BIM Certification Course today and learn from industry experts!