Lumion and Revit are powerful tools that revolutionize architectural visualization. Revit excels in Building Information Modeling (BIM), allowing detailed and accurate design creation. On the other hand, Lumion enhances these models with stunning renders and immersive walkthroughs.
Combining these tools effectively can elevate your projects, making them visually appealing and highly functional. This synergy enables architects and designers to present their ideas more convincingly, ensuring better client understanding and approval.
Why Use Lumion for Revit Renders
Lumion elevates Revit models into stunning, lifelike visualizations. Its user-friendly interface and real-time rendering capabilities accelerate the design process. Architects can quickly experiment with different materials, lighting, and environments, resulting in polished presentations that captivate clients.
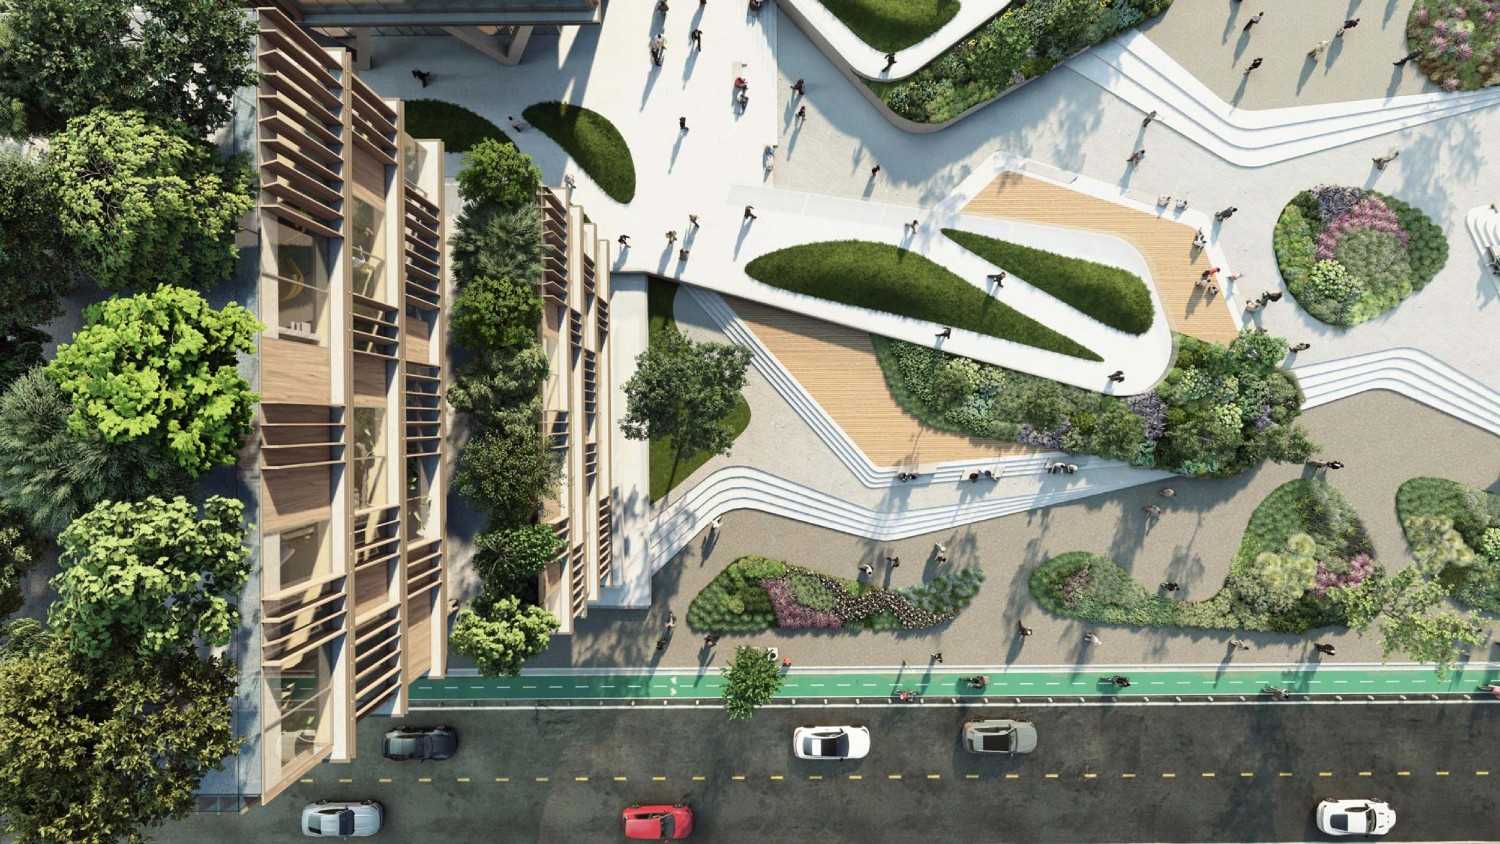
Lumion render_©neufert-cdn.archdaily.net
Getting Started with Lumion
To begin with Lumion:
Download and Install: Follow the instructions on the Lumion website.
Familiarize Yourself: Explore the interface and tools.
Start with a Simple Project: Gain hands-on experience. The workspace includes a library of materials, objects, and effects. Starting with a simple project helps you understand the workflow and capabilities of Lumion. As you gain confidence, you can tackle more complex projects, utilizing Lumion's full range of features.
Preparing Revit Models for Lumion
Before importing Revit models into Lumion:
Clean the Model: Remove unnecessary elements.
Organize: Ensure all components are properly categorized.
Check Materials: Assign basic materials in Revit. This preparation ensures a smoother transition and better performance in Lumion. A well-organized model is easier to work with and renders more efficiently. Paying attention to materials in Revit also ensures they transfer correctly, reducing the need for adjustments later.
Importing Revit Models into Lumion
Importing Revit models into Lumion can be done in two ways:
LiveSync: Real-time synchronization between Revit and Lumion.
Export as Collada (.DAE): Import the file into Lumion. Check for missing elements or errors during the import process. Using LiveSync allows for continuous updates, making it easier to refine your model. The Collada export is useful for larger projects or when LiveSync is not available. Ensure all components are accurately transferred to maintain the integrity of your design.
Optimizing Revit Models in Lumion
Once imported, optimize your model by:
Adjusting Scale, Position, and Orientation: Ensure the model fits the scene.
Assigning Materials: Use Lumion’s material library.
Checking for Errors: Resolve any issues that arise. Optimization is crucial for achieving realistic renders. Proper scaling and positioning ensure the model integrates well with the environment. Assigning materials from Lumion’s library enhances visual quality. Resolving errors early prevents problems during rendering and ensures a smoother workflow.
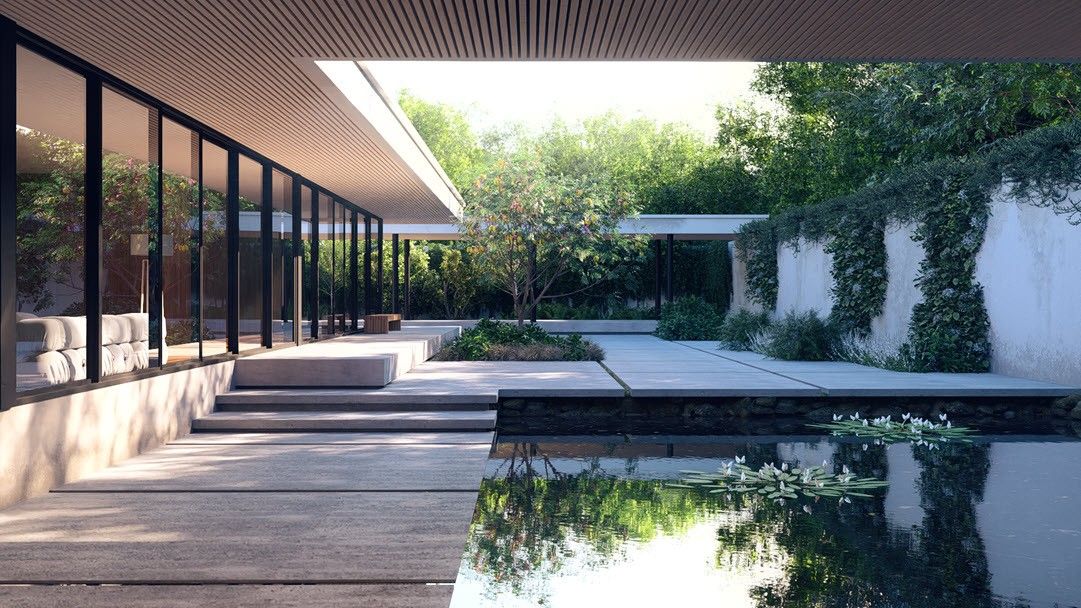
Lumion render_©support.lumion.com
Basic Rendering Techniques in Lumion
Start with basic rendering techniques:
Apply Materials: Choose from Lumion’s extensive library.
Experiment with Textures: Try different finishes.
Use Real-time Preview: See changes instantly. Focus on achieving a balanced look. Applying materials correctly is the foundation of a good render. Experimenting with textures adds depth and variety. The real-time preview allows for immediate feedback, enabling quick adjustments and refinements.
Advanced Rendering Techniques in Lumion
For advanced techniques, consider:
Weather and Lighting Effects: Simulate different conditions.
Reflections and Transparency: Add realism.
Depth of Field and Motion Blur: Create dynamic renders. These techniques enhance the visual appeal of your renders. Weather and lighting effects add context and atmosphere. Reflections and transparency make materials more believable. Depth of field and motion blur add a sense of movement and focus, making your renders more engaging.
Creating Realistic Materials in Lumion
To create realistic materials:
Use High-Resolution Textures: Ensure clarity and detail.
Adjust Glossiness and Reflectivity: Match real-world properties.
Bump Mapping: Add texture depth. Lumion’s material editor allows for detailed customization. High-resolution textures provide the foundation for realism. Adjusting glossiness and reflectivity ensures materials look correct under different lighting conditions. Bump mapping adds texture, making surfaces more tactile and convincing.
Lighting Techniques for Better Renders
Lighting can make or break a render. Use:
Natural Light: Simulate sun and sky.
Artificial Light: Add indoor lighting.
Adjust Intensity, Color, and Direction: Tailor the lighting to your scene. Lumion’s sun and sky settings can simulate different times of day and weather conditions. Proper lighting highlights architectural features and creates mood. Adjusting intensity, color, and direction ensures your model is well-lit and visually appealing.
Using Lumion's Built-in Effects
Lumion offers a range of built-in effects to enhance renders:
Bloom and Lens Flare: Add atmospheric effects.
Chromatic Aberration: Create a photographic look.
Color Correction: Fine-tune the overall appearance. Experiment with different combinations to find the best look for your project. These effects add realism and polish to your renders. Using them wisely can elevate the visual quality and make your presentations more compelling.
Adding Environment and Context
Contextual elements add depth to your renders. Use Lumion’s object library to:
Add Trees, People, and Vehicles: Populate your scene.
Position Elements Thoughtfully: Ensure realism.
Use Water and Landscape Features: Enhance the environment. These elements make your renders more lifelike and relatable. Positioning them thoughtfully ensures they complement the architectural design. Water and landscape features add natural beauty, making your scene more engaging.
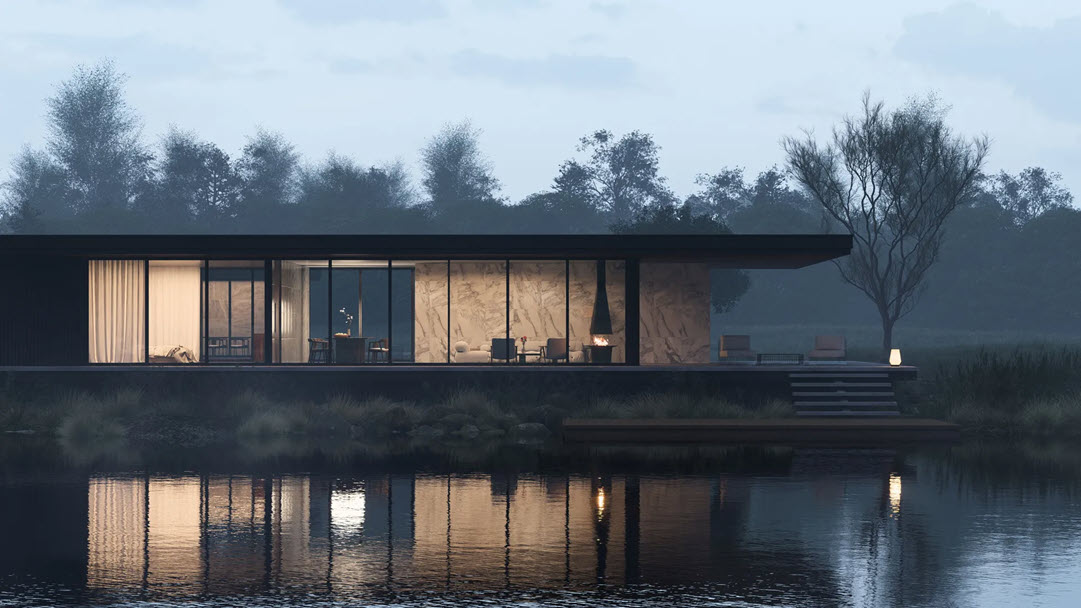
Lumion render_©support.lumion.com
Creating Architectural Walkthroughs
Walkthroughs showcase your design in motion. Plan your path carefully:
Define Key Areas: Highlight important features.
Use Lumion’s Animation Tools: Create smooth transitions.
Focus on Details: Ensure a comprehensive view. A well-planned walkthrough guides the viewer through your design, highlighting key areas and details. Lumion’s animation tools make it easy to create smooth and engaging walkthroughs. Focusing on details ensures the viewer gains a comprehensive understanding of the design.
Animating Objects in Lumion
Add animations to objects for a dynamic walkthrough:
Animate Doors and Windows: Show functionality.
Move Vehicles and People: Add life to your scene.
Use Simple Animations: Enhance realism without overloading. Lumion’s animation tools are intuitive and powerful. Animating objects adds interactivity and realism to your walkthroughs. Simple animations, like opening doors or moving vehicles, make your scene more dynamic and engaging.
Editing and Refining Walkthroughs
Refine your architectural walkthrough using Lumion’s editing tools:
Adjust Timing and Transitions: Ensure smooth flow.
Tweak Camera Angles: Find the best perspectives.
Check for Consistency: Maintain a cohesive look. Editing and refining ensure your walkthrough is polished and professional. Adjusting timing and transitions creates a smooth viewing experience. Tweaking camera angles provides the best perspectives. Consistency ensures a cohesive and visually appealing presentation.
Exporting High-Quality Renders
Exporting is crucial for presenting your work. Choose the right settings:
Resolution and Format: Match your needs.
Quality Settings: Balance quality and file size.
Use Presets: Simplify the process. Lumion offers presets for different purposes, ensuring your renders are sharp and detailed. Choosing the right settings ensures your work is presented at its best. Balancing quality and file size is important for efficient sharing and presentation.
Sharing and Presenting Your Work
Presentation is key. Use Lumion’s tools to create compelling presentations:
Combine Renders and Walkthroughs: Provide a complete view.
Use Slideshows and Videos: Enhance engagement.
Tailor Presentations to Your Audience: Ensure relevance. Effective presentation combines renders and walkthroughs into a cohesive package. Using slideshows and videos enhances engagement and understanding. Tailoring presentations to your audience ensures they are relevant and impactful.
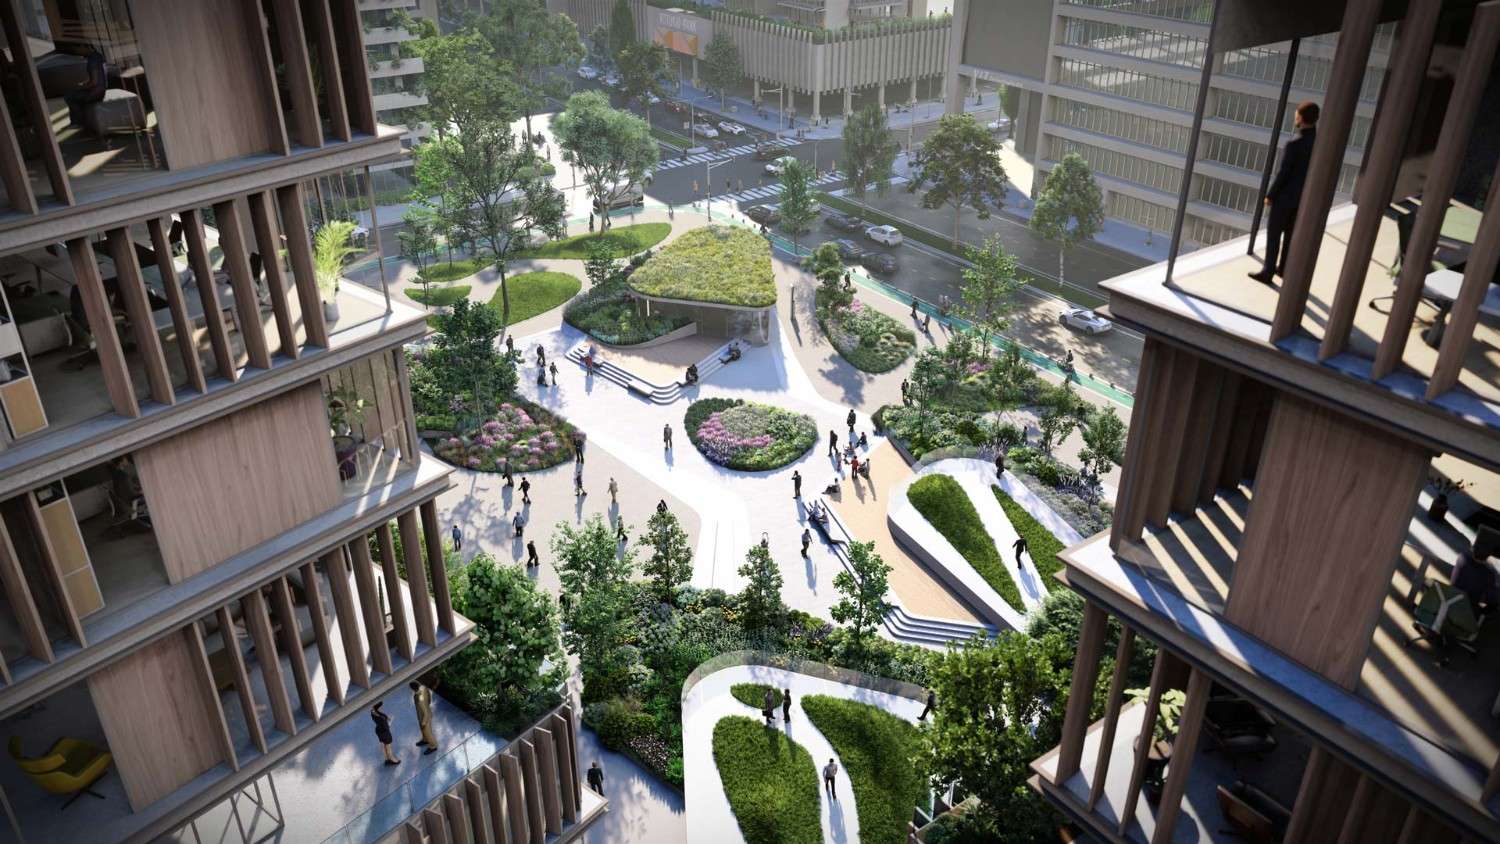
Lumion render_©lumion.com
Tips for Faster Rendering Times
Rendering can be time-consuming. Use Lumion’s optimization tools:
Reduce Model Complexity: Simplify where possible.
Adjust Render Settings: Balance quality and speed.
Use a Powerful Computer: Ensure smooth performance. These tips help reduce rendering times without sacrificing quality. Simplifying the model reduces the load on your computer. Adjusting render settings finds a balance between quality and speed. A powerful computer ensures smooth performance and faster renders.
Common Mistakes to Avoid
Avoid common mistakes in rendering:
Unorganized Models: Ensure cleanliness and organization.
Poor Material Assignment: Pay attention to materials.
Skipping Test Renders: Test before finalizing. Learning from mistakes improves your skills. A clean and organized model is easier to work with and renders more efficiently. Paying attention to materials ensures they transfer correctly and look good in the final render. Testing before finalizing catches errors early, saving time and effort.
Conclusion
Mastering Lumion and Revit is a game-changer for architects. By effectively combining these tools, you can transform complex designs into captivating visual narratives. Remember, practice is key. Experiment with different techniques, and learn from your mistakes. Optimize your workflow, leverage Lumion’s vast library, and focus on creating realistic, engaging visuals. With dedication and experimentation, you’ll elevate your architectural presentations to new heights, impressing clients and showcasing your design vision with unparalleled impact.
Ready to excel in Revit and BIM architecture? Join our Professional Revit & BIM Certification Course and create lifelike Lumion renders. Enroll now and enhance your architectural skills!
Visit the Kaarwan website for more insights!